How to Clean a Grinder Properly Without Damaging Burrs or Leaving Stale Coffee Behind
Stale oils and fines build up inside every grinder and dull your fresh coffee. Here is how to clean a grinder the right way — routine brushing and careful deep cleaning — without chipping a burr or losing your settings.
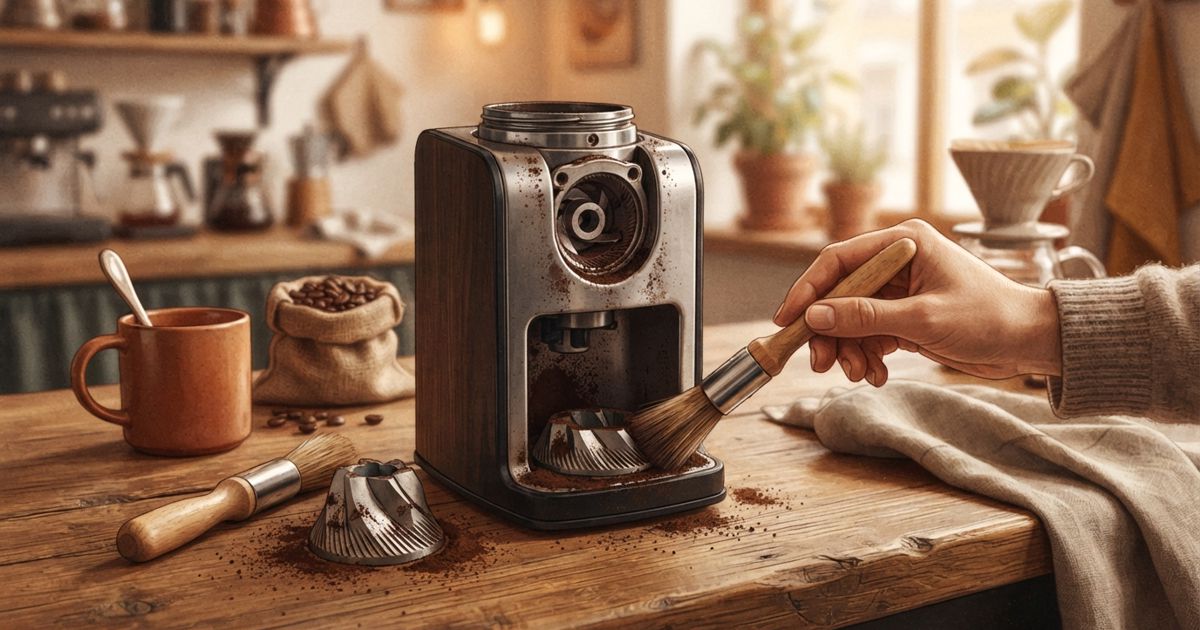
Table of contents
A grinder is the hardest-working tool in your coffee setup and the one most often neglected. Every batch leaves behind fine dust and coffee oils that build up in the burrs, the chute and the hidden corners of the housing. Left alone, that residue goes stale and rancid, and it quietly taints every fresh cup afterwards — a slightly dull, musty note you cannot grind your way out of. Cleaning a grinder properly is not hard, but doing it carelessly can chip a burr or knock your settings out. Here is how to do it right.
Why grinders need cleaning at all
Coffee is oily, and those oils do not fully brew away. Some cling to the grinder's internals, collecting stale fines and turning gradually rancid. The consequences are real:
- Off flavours from old oils muddying an otherwise fresh cup.
- Clumping and clogging as sticky residue builds up in the chute.
- Drifting grind consistency when packed grounds change how the burrs feed. If your dialed-in setting suddenly seems wrong, cleaning is worth trying before you blame the beans — the same consistency that our burr grinder guide explains depends on clean burrs.
Two kinds of cleaning
Think of grinder care as two separate jobs on two different schedules.
- Routine cleaning: a light, frequent brush-out to keep loose grounds and dust from accumulating. Quick, low-risk, do it often.
- Deep cleaning: occasionally taking the burrs out to clear packed-in oils and fines. More involved, done far less often.
Matching the effort to the need keeps things simple: most of the time you only need the quick version.
Routine cleaning: the safe, frequent habit
You can do this without disassembling anything.
- Unplug the grinder. Always. Burrs are sharp and a bump of the switch is not worth the risk.
- Empty the hopper and grind chamber of any leftover beans and loose grounds.
- Brush out the burrs and chute with a stiff, dry brush — a dedicated grinder brush or a clean paint or pastry brush works. A puff of air from a blower helps dislodge dust from the burr teeth.
- Wipe the hopper and lid. These collect oil films that go stale. A dry or barely damp cloth is enough; dry thoroughly before refilling.
The golden rule at this level: keep water away from the burrs and motor. Moisture on metal burrs invites rust, and damp coffee dust turns to a paste that is far worse than the dry dust you started with.
The grinds-and-rice question
A popular trick is to run something through the grinder to scrub the burrs — dry rice, or a purpose-made grinder-cleaning product made from food-safe grains. These can work by absorbing oils and knocking loose fines. Two cautions, though:
- Check your manufacturer's guidance first. Some grinders, especially those with certain burr designs, advise against hard grains because they can stress the burrs. Purpose-made cleaning pellets are formulated to be gentler.
- Purge afterwards. Run a small dose of coffee through and discard it, so no cleaning residue reaches your next brew.
If in doubt, skip this step. A good brush-out achieves most of the benefit without any risk to the burrs.
Deep cleaning: how to remove burrs without damage
When routine brushing no longer keeps the cup clean, it is time to take the burrs out. This is where care matters most.
- Unplug first, every time.
- Note your grind setting before you start. Removing the top burr often means turning past your setting, and you will want to return to it. Write it down — this is the step people skip and then spend a week re-dialing.
- Remove the retaining ring or top burr carrier following your grinder's manual. Designs vary, and forcing the wrong part is how things break.
- Lift the burrs out gently. Handle them by the edges. The cutting teeth are precisely machined and easily nicked; a chipped burr grinds unevenly forever.
- Clean the burrs dry. Brush the teeth clear of packed fines. For stubborn oil, a brush and, if truly needed, a barely damp cloth followed by immediate, complete drying — never soak burrs, and never put them in a dishwasher.
- Clear the chute and housing with the brush while the burrs are out, since this is the only time you can reach it properly.
- Reassemble carefully and return the dial to your noted setting.
Never use metal tools to scrape the burrs, and never chase a "like-new" shine. You are removing coffee residue, not the burr's surface.
How often is enough
There is no universal number — it depends on how much you grind and how oily your beans are. Two simple signals tell you more than any schedule:
- Dark, oily roasts leave residue faster than lighter ones, so they need cleaning more often.
- Your senses. If grounds start clumping, the grinder sounds or feels different, or the cup turns dull for no clear reason, it is time. Frequent brushing stretches the gap between deep cleans considerably.
The payoff
A clean grinder does two quiet, valuable things: it protects the flavour of good beans you paid for, and it keeps your grind consistent so your dialed-in settings stay true. Treat routine brushing as part of your weekly rhythm and deep cleaning as an occasional reset. Do that, and the grinder that shapes every cup will keep doing its job — cleanly, consistently, and without stealing flavour from beans that deserve better. If a fresh clean still leaves the cup tasting flat, the fix is usually upstream, in the pairing of grinder and method our grinder choice guide walks through.